

How To Open A Png File In Photoshop
No matter which blazon of editing you demand to do with your PNG files, Photoshop makes it easy. From importing, editing, and exporting, it can all be done in no time if you follow the proper steps. Luckily with the steps, y'all'll larn below, you'll soon exist a master at working with PNG files in Photoshop.
Let's go started!
How To Import A PNG File Into Photoshop
To import a PNG file into Photoshop, press Command + O (Mac) or Control + O (PC) and locate your PNG file on your calculator. Adjacent, click "Open up" to bring the file into Photoshop. Photoshop will automatically create a new document based on the dimensions of the file.
Having your files organized into folders on your computer will help a lot for this step!
If you don't want to apply the keyboard shortcut mentioned above y'all tin can also go to File > Open up.
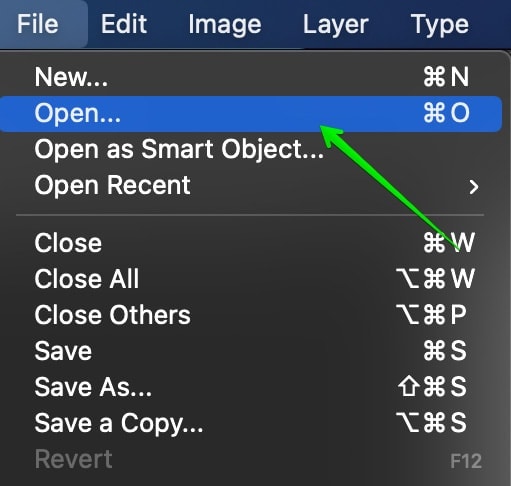
And then select the file from your calculator and click on 'Open'.
Now your PNG file is added into a new Photoshop project and information technology is ready to be edited. There are tons of ways to edit these files in Photoshop, and the next department will make the editing process easy
How To Edit A PNG File In Photoshop
Now that you have your image in Photoshop, you tin can do all sorts of things with this image! Y'all tin add aligning layers, text, brighten or darken information technology, blur information technology, etc…
If you don't know what an adjustment layer is, information technology basically adds various kinds of effects to your image without destroying the original file. You can turn these adjustments on and off at any time and they are really powerful for photo editing.
For this example, I'll bear witness yous how to add a hue-saturation adjustment layer to quickly modify the color of your PNG files in Photoshop.
Here are the steps:
Step ane: Add An Adjustment Layer
Adding an adjustment layer is really simple. There are two ways to practise this in Photoshop. Although I am creating a hue/saturation adjustment layer, the process is similar for all other adjustments.
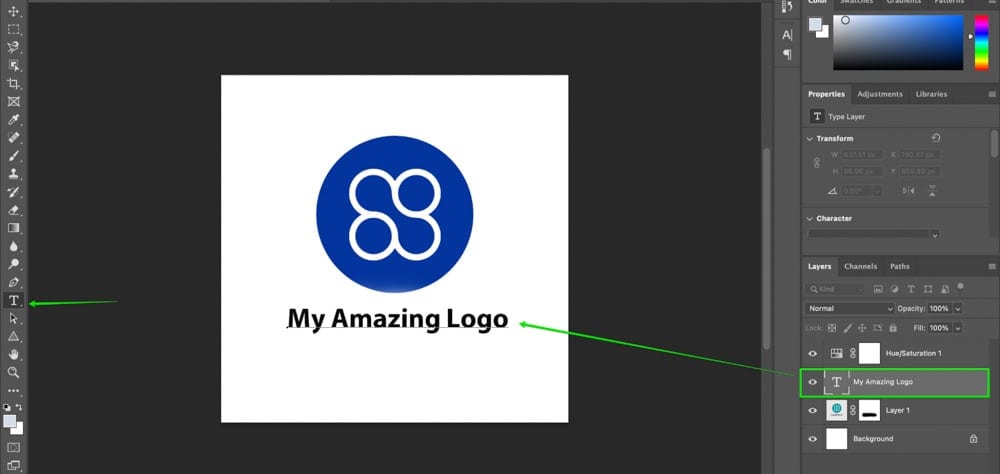
First, you can get to Layer > Add a New Adjustment Layer > Hue/Saturation.
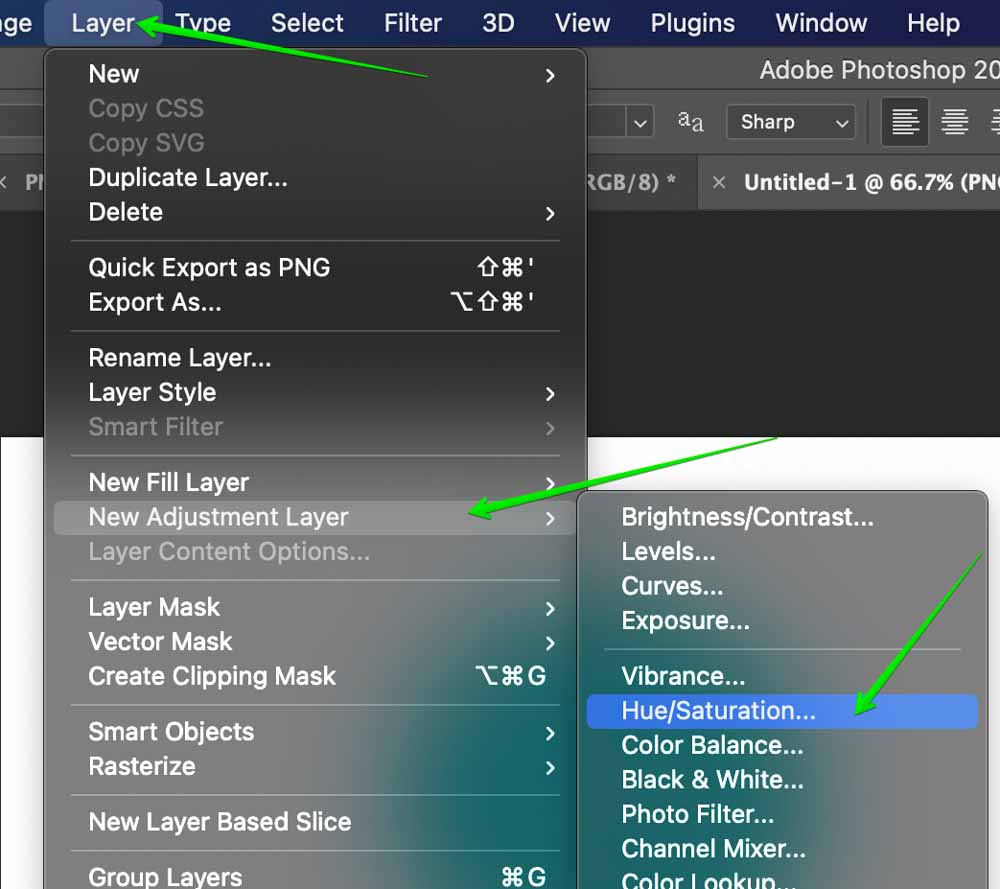
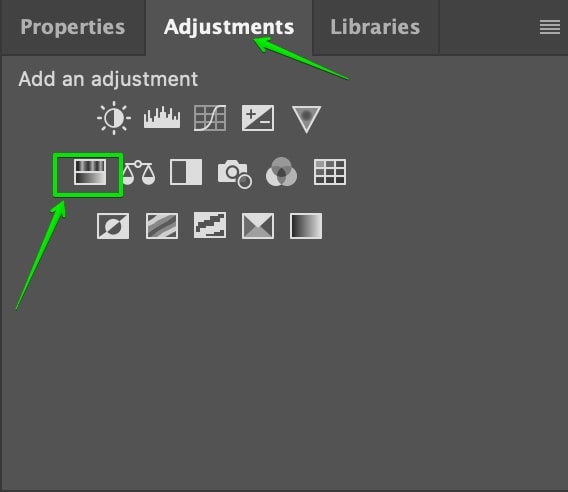
Second, yous can come up to the 'Adjustments' console in the right sidebar of Photoshop and select Hue/Saturation from there. Information technology is the 1st icon in the 2nd row.
Once you click on the icon, you'll be greeted with a box where you can name your layer. Then click on 'Ok'.
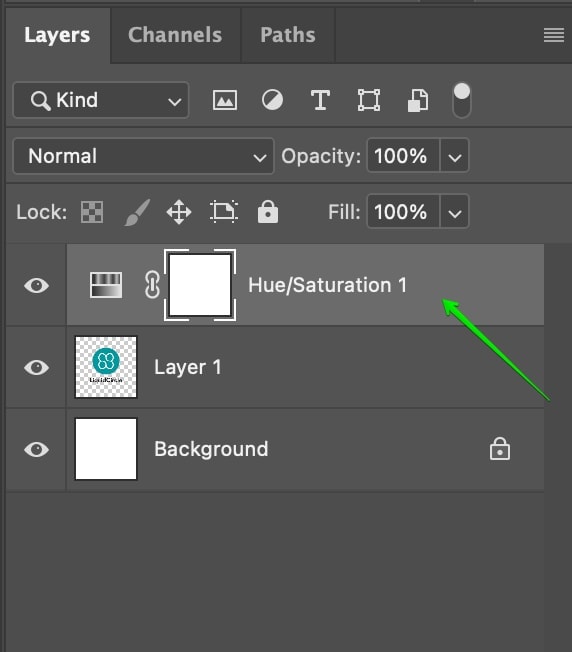
You can now encounter an adjustment layer just above the prototype layer every bit shown beneath. In this case, I have a new hue/saturation aligning layer.
Step ii: Adjusting The Settings
In one case your aligning layer is added, you tin adjust the properties.
In the adjustments console of the hue/saturation adjustment, y'all'll be able to see some different options to choose from. Here are what all of them mean:
Preset: is pre-made templates for this aligning layer which you can add together to your image for fast color adjustments. It's good if y'all don't have time and merely want something automated.
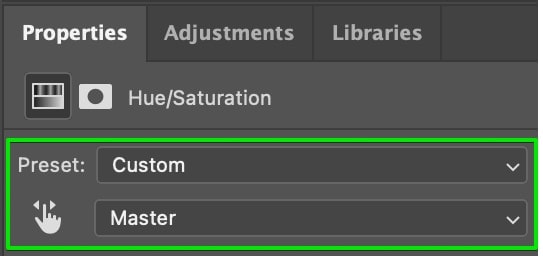
Color Selector: If your image has multiple colors and you only want to adjust a certain color of your image, and then select a colour from the dropdown menu such equally red or blue. If y'all want to alter the await of your whole prototype, so y'all can choose 'Master'.
Hue: From here yous tin adjust the colors of your prototype. Only slide the slider to alter the colour.
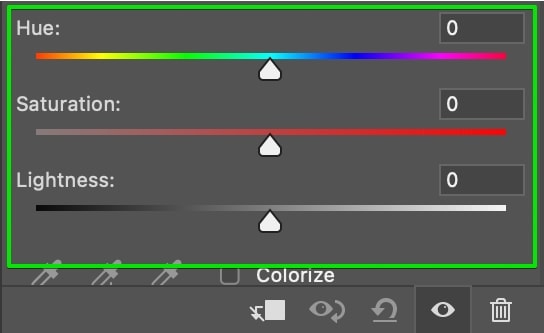
Saturation: Saturation increases the richness of your colors. A less saturated epitome shall become black and white and a higher saturation shall make your prototype wait overly colorful.
Lightness: Adjusts the darkness and lightness of your image, serving a similar purpose to luminance in other editing programs.
For today'south example, we will change the colour of this PNG logo:

Now we volition convert its light-green color to blue.
For that, just make an adjustment to the hue section of the hue/saturation adjustment layer by sliding the slider to the blue color.
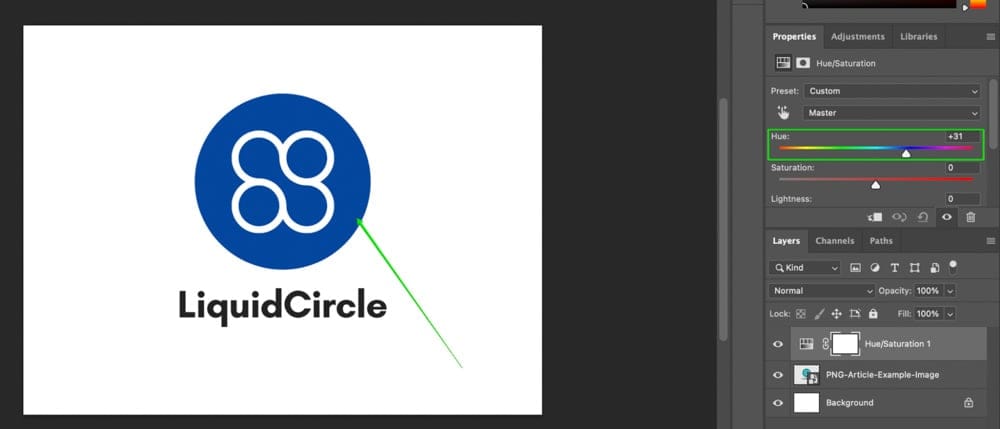
And that's it!
Here'south what our final outcome looks similar:

How To Edit Text In A PNG File
This section isn't basic text editing in Photoshop. For this example what I'm going to be showing you is how using layer masks you tin remove the text nowadays in an image and replace it with some alternative text! Since PNG files exercise not have text that is directly editable, this workaround will allow y'all to replace or add together to existing text in your file.
Here are the steps:
Footstep 1: Add A Layer Mask
Once you have your paradigm imported, create a layer mask past clicking on the 'Rectangle with a Dot' icon in the Layers console.
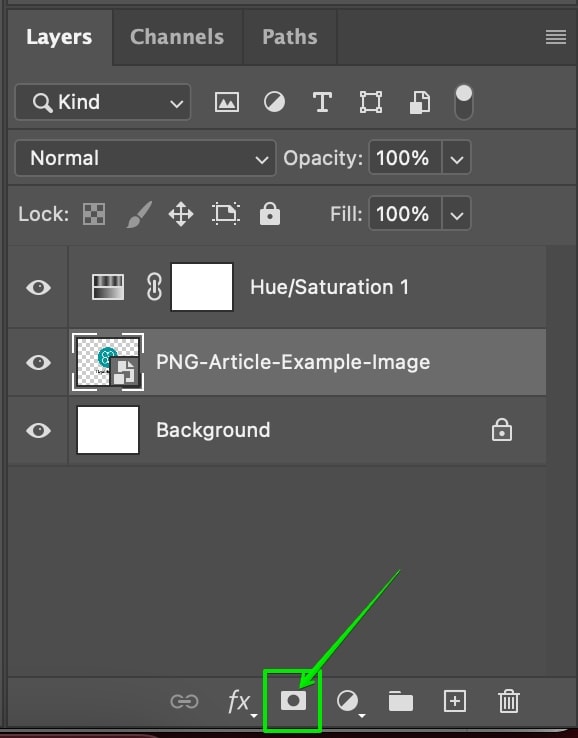
Layer masks let us to edit a photo in a non-destructive and reversible way. With 1 click of a button, you can easily remove all the furnishings and enable them again.
You can learn more about layer masks and how they work in this mail service.
Step 2: Pigment Blackness To Remove The Original Text
Now comes the fun part! Removing the text!
To do and so, first select the Brush tool by pressing on 'B' on your keyboard. In one case that is selected, set up the foreground color to 'Blackness'.
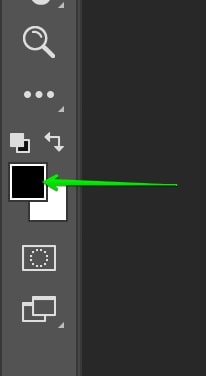
With layer masks, the foreground color of your brush determines whether y'all volition make the layer visible or invisible.
If you take black every bit your foreground color, it will "mask out" content from the image and go far 100% transparent. If white were set up to your foreground colour, the reverse effect would occur past making everywhere you pigment 100% visible.
With blackness still selected, run your castor over the function of the paradigm you lot desire to remove. In this situation, that is the text of our PNG layer.
Later on masking over the words, they have become completely invisible. Hither's how the result looks:

Footstep 3: Write Your New Text
At present we are going to change out the text with something new.
To add new text, press 'T' on your keyboard to select the 'Type' tool. By but clicking on your canvas, you tin can add together a new slice of text and edit it similar to a word document.
If you wish to edit your text further, you lot can adjust the size, font, spacing, and more in the upper setting bar or the Graphic symbol Panel. For a more in-depth caption, yous tin learn everything you lot need to know about these text effects in this tutorial.
One time yous have the text editing washed, we are now going to align the text. Showtime up what we will do is adjust the size of the text and other properties using 'Transform'. With your layer selected, take hold of the Motility Tool (V), then press Cmd/Ctrl + T and now you will see a transform box similar to what's shown below.
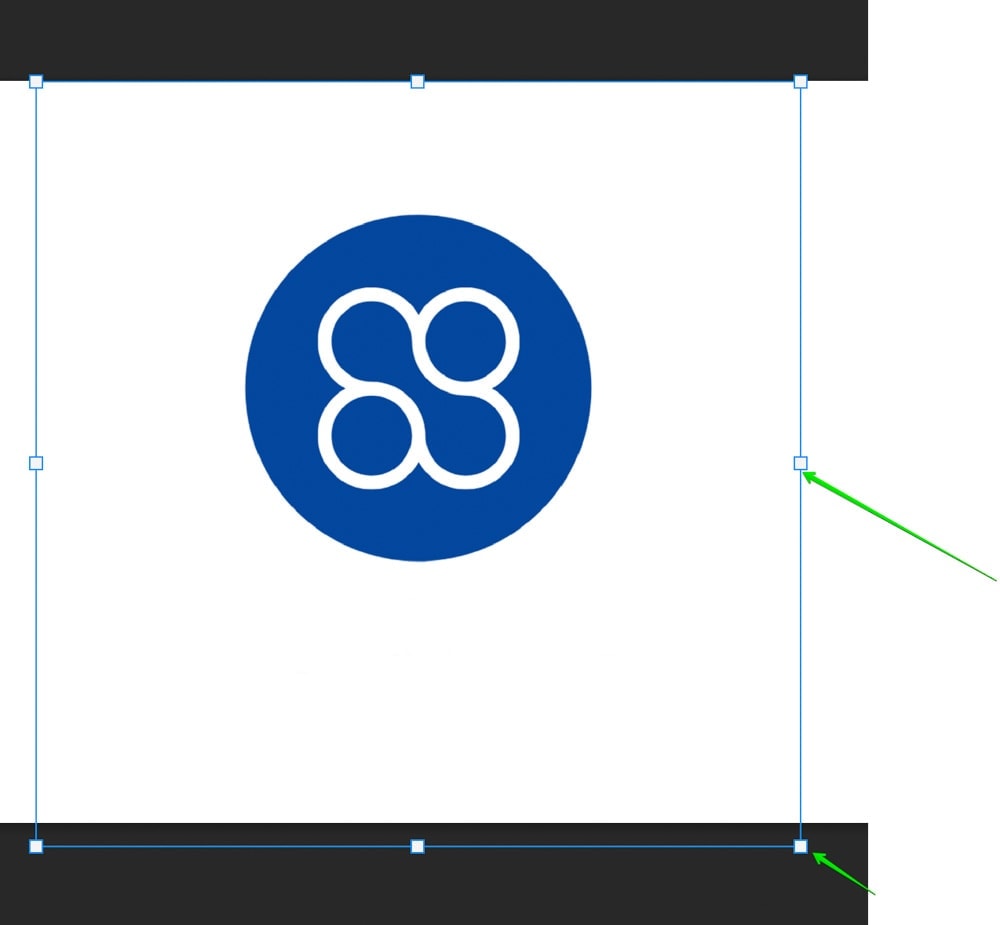
You can adjust the size of your text box from here. Once done, refine the position of your logo or text using the arrow keys to bump the positioning. For a perfectly centered logo, check out this guide.
Here's what our final result looks like:

With a few simple steps, you tin rapidly edit a PNG file in Photoshop. From brightening to color changing and everything in between, there is always an adjustment layer perfect for the chore!
How To Relieve A PNG File With Transparency
To save a PNG file from Photoshop and preserve transparency, go to File > Save A Copy. In the consign dialogue box, fix the Format to PNG. Now gear up a destination on your computer and click export to salvage your file. You are left with a PNG consign with preserved transparency!
Alternatively, there is another export option that provides slightly more than consign settings that serve as a great alternative.
In most cases, it's a skilful thought to export the file to PNG, and also save a PSD file to make certain that nosotros tin admission our project in the future.
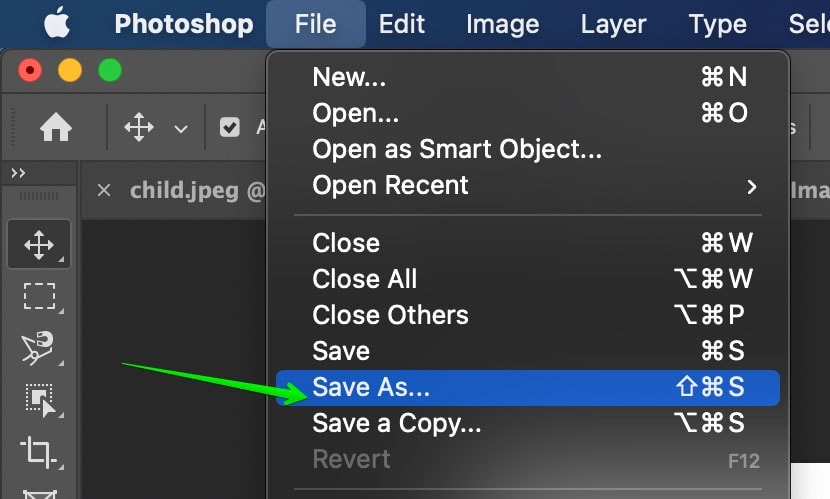
To salvage the projection before exporting, go to File > Save As and select whether you lot want to save the file in your Adobe deject or your PC. At present enter the name with which you want to save the project, select the location, and click on 'Relieve'.
Now to export the epitome as a PNG with transparency, go to File > Export and select 'Consign Equally'. You volition come across a dialogue box where you lot can edit the preferences.
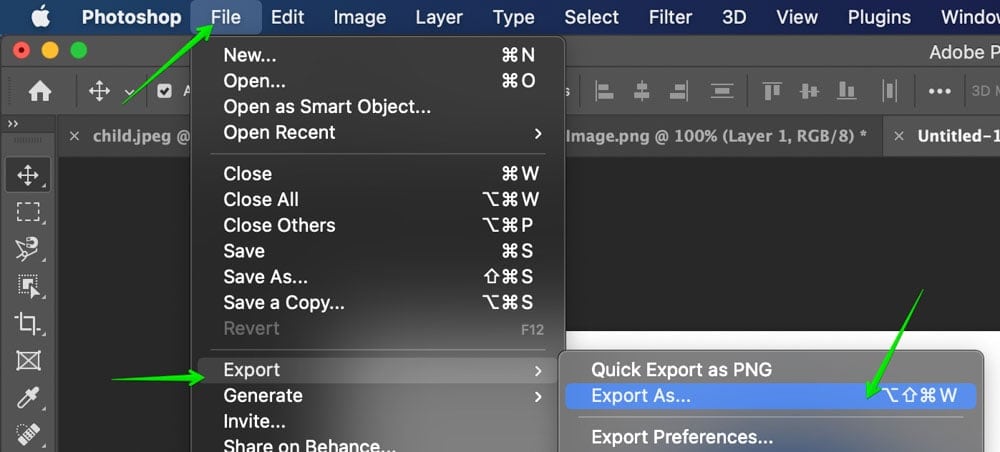
Commencement you tin can select the format between PNG, JPG and GIF. Select PNG as your format and to save a transparent background click on the 'Transparency' checkmark. This volition only work if you accept already removed the white background or cutting out your prototype prior to export.
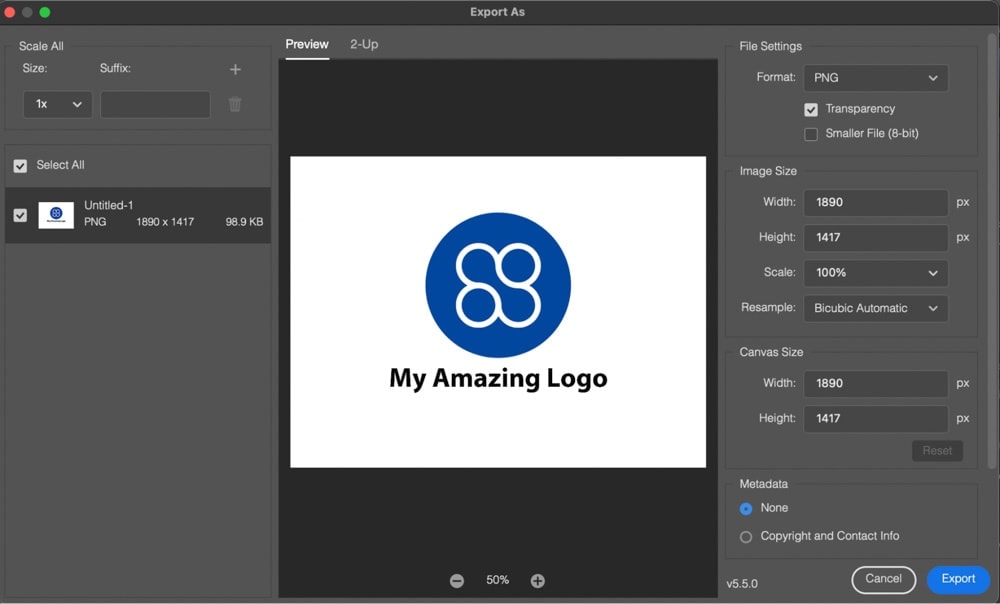
After that, you can select the image and canvas dimensions. You can also select the metadata to include like Contact Info and Copyright.
Now click on 'Export'.
After that, set the exported file name and location and you're washed!
Now you will see the file in your file in Finder (macOS) or File Explorer (Windows) exported to your saved location.
How To Unlock A PNG File In Photoshop
If a PNG layer is locked in Photoshop and cannot be unlocked, it is likely due to the wrong color mode existence used. To solve this, become to Paradigm > Mode > RGB Color. In this color mode, your PNG file volition be unlocked and therefore direct editable.
Permit's interruption that down a piddling further.
Sometimes while editing PNG's in Photoshop your layer can accidentally get locked. Now, this isn't a problem merely sometimes you lot tin can't even unlock the layer which actually sucks.
The problem is caused due to the color space you are working in. If you work in "Indexed Color" way for example, you lot tin face some bug. For fixing the problem, you lot need to change the color space to RGB.
Hither are the steps to do that:
Go to Image > Mode and select RGB color mode from in that location. That's information technology! Now your problem shall exist stock-still!

At present you know everything yous need to know about importing, editing, and exporting PNG files in Photoshop. Even if you meet issues with your layer not unlocking, it can be hands stock-still using the tips y'all learned here.
Happy Editing!

How To Open A Png File In Photoshop,
Source: https://www.bwillcreative.com/how-to-edit-a-png-file-in-photoshop/#:~:text=To%20import%20a%20PNG%20file%20into%20Photoshop%2C%20press%20Command%20%2B%20O,the%20dimensions%20of%20the%20file.
Posted by: burdrecing37.blogspot.com
0 Response to "How To Open A Png File In Photoshop"
Post a Comment